Continued from part 2 last week. You will find that most of the time, shutter speeds from about 1/1000th of a second to 1/2000th are enough. But some birds will need more and with some you can get away with less.
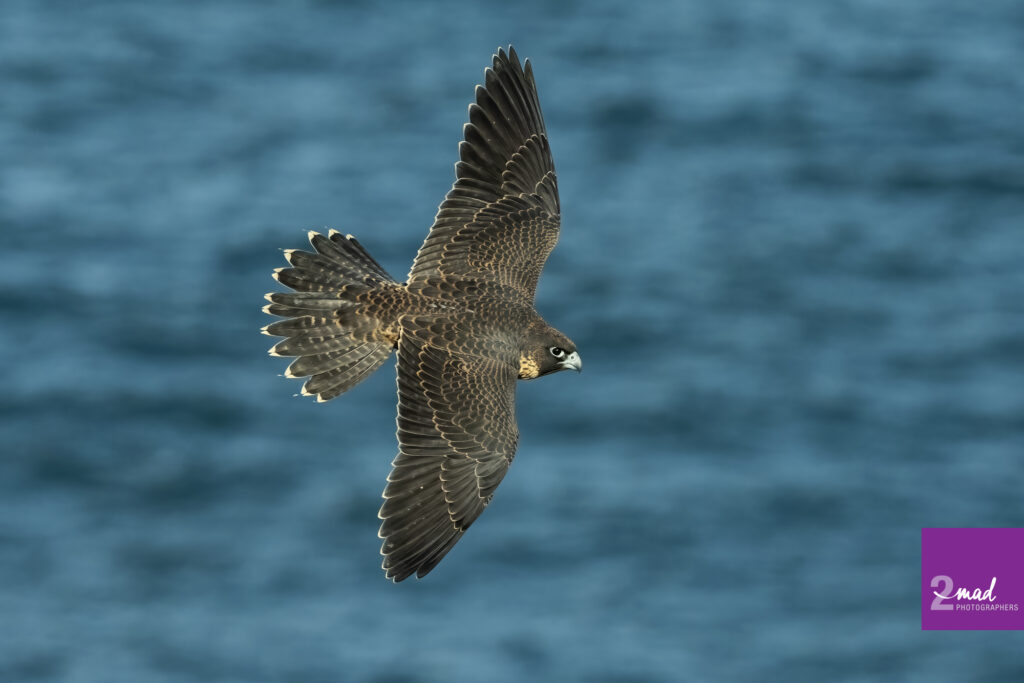
Take, for example, large birds such as egrets, pelicans, eagles or albatross. They are usually slower flyers than a falcon, a swallow or any other smaller species. I can generally get away with shutter speeds of 1/500th to 1/1000th of a second for these sorts of birds, though I prefer my average to be at 1/2000th and increase it more for fast birds, such as Peregrine Falcons or petrels or if there is a specific motion I want to freeze, like a bird landing with the wings fully out. I will not shy to push shutter speed up to even 1/5000th of a second or faster.
The below White-bellied Sea Eagle image was taken with 1,000mm focal length on an APS-H sensor camera so the effective focal length equivalent was 1,300mm, meaning that to get any decent shutter speed, I should have been at 1/1300th of a second (actually 1/1250th is closest, or 1/1600th) if using the 1/focal length shutter speed rule for hand holding, adjusted to the sensor size in the camera. This was achieved by multiplying the focal length used with the sensor crop factor, which is 1.3x for the Canon EOS 1DMkIII camera body. Yet, I used 1/500th of a second. Why? Because that’s what the right exposure was for me at the time and on the now ancient Canon EOS 1DMkIII camera body making even simple ISO adjustment was more complicated than it is now on my OM-1 camera body.
Now a sea eagle like this bird is a fairly slow cruiser in the air, unless it’s coming in fast for a pick-up of prey near the water surface. Therefore, I was not worried about 1/500th of a second shutter speed that I used in the end. The built-in image stabiliser in the lens was enough to assist me, but solid hand holding technique also helped, as no amount of stabilisation technology will help sloppy technique.

The thing to remember is that if you are using slower shutter speeds, then you will inadvertently pick-up some motion blur, especially the tips of wings as the birds move them in the up/down stroke pattern. There will be some blurring in those tips, which will pretty much disappear by the time you hit 1/3200th of a second shutter speed.
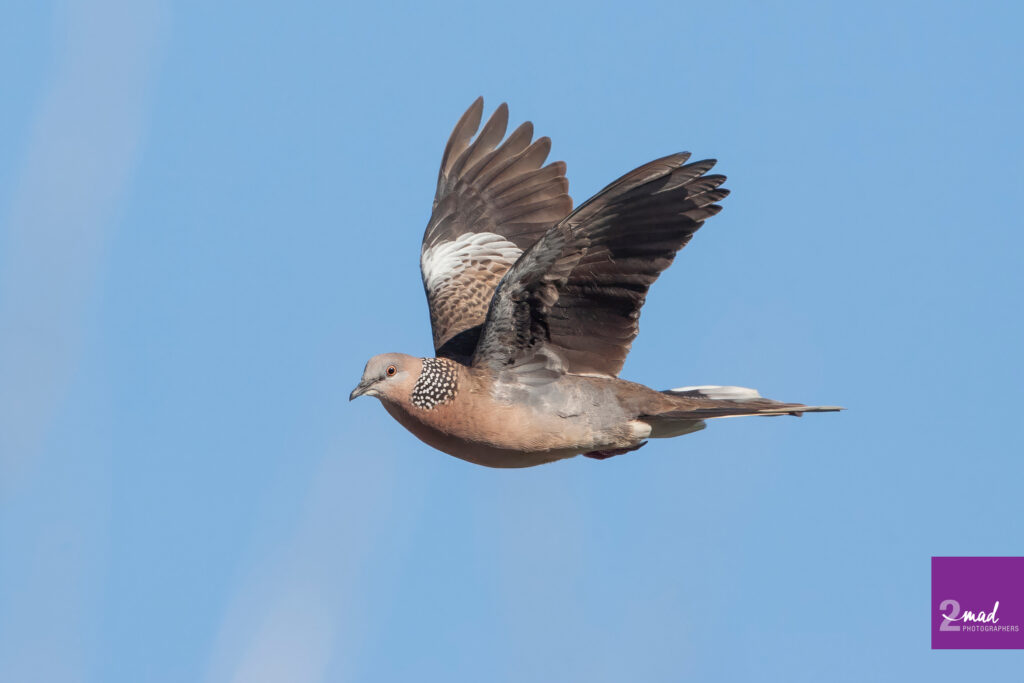

Fast flying birds like swallows or falcons are notoriously difficult to capture in flight. You waste a lot of frames getting them nicely captured on your sensor, but when you do, it’s all worth the wasted frames along the way.
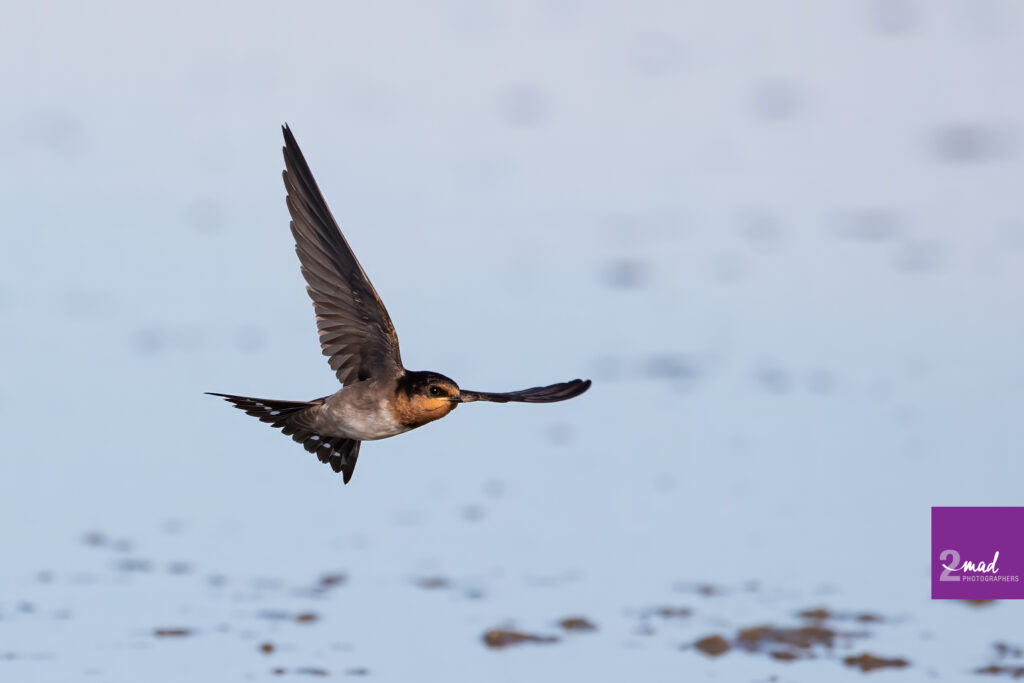
For the faster birds we like to keep shutter speed at 1/2500th or 1/3200th as a minimum and increase it as we see fit to as high as we can take it. This highest shutter speed thought process also applies to birds that are about to come in and land, or take prey or just do fast things that need super fast shutter speeds to freeze their motion.


Long lens technique is quite simple really. It’s a way of life, shooting in the most unrestricted way possible. It allows us to be ready with a moment’s notice to aim and fire at a bird that is flying near or perching close enough.
When Netra and I used to shoot much heavier Canon gear, we both still shot hand-held, though her Sigma 150-600mm lens with the Canon EOS 1DxMkII body was still a bit heavier than our OM-1 bodies and the 300mm f/4 Pro lens, we persevered. I have been shooting super telephoto lenses since 2006 so weight and weight distribution was something I developed early enough in my days as a bird photographer, and flight photography specialist. While I had a tripod that I used some of the time, I no longer use a tripod for any of my bird photography (irrespective of HOW slow my shutter speed is) and neither does Netra. Of course, we have ways of bracing ourselves with our light OM System equipment and we can use solid techniques to nail shots, and so can you!
Time in the field and a good understanding of exposure and technique will work, as long as you are willing to go out and shoot a lot. I mean not every now and then, but consistently. Consistency is key. A consistently practicing photographer will be able to get consistently good quality images. Now if getting the best and sharpest and most detailed RAW file is not something you want to obtain, then perhaps you should have scrolled past this blog post.
In the below image, I am holding my old Canon EF 500mm f/4L IS USM lens with the 1.4x teleconverter and a Canon EOS 1DMkIII professional camera body.

A heavy bit of kit, close to 5 kilograms, or about 11 pounds in the old scale. I have three points of stability. One the right arm is tucked against my rib cage (though you cannot really see it here), my face is firmly pushed against the back of the camera and the left (leading) hand finding the balancing pivot point of the lens. Now the beauty of the smaller and lighter OM System lens, the 300mm f/4 Pro, is that now I can tuck my left elbow into my ribcage as well, effectively creating a tripod like structure with my own body. If I am taking a shot, a single shot, and especially at slow shutter speeds, I take a breath and hold it. Otherwise it’s harder for a panning sequence.
One of the hardest things to master is panning. Only practice and more practice will ensure, that you will successfully achieve solid results all the time. It’s well worth the investment in getting out there photographing your favourite subjects, or sometimes the less exciting ones. Not taking the beauty and splendour of ducks and cormorants away, but finding common birds at your local duck pond can generate good field experience so when that less common falcon buzzes past, you have less chance of messing up the opportunity. No amount of gear or book reading can replace the true benefit of being out there constantly and shooting as much as you possibly can.
We hope that this three-part blog piece on the best settings for birds in flight photogrpahy has been a useful read to you. It should serve as a good starting point for your birds in flight (BIF) adventures with your camera.
Please feel free to contact us for one of our one-on-one or group workshops to take your photography to the next level. Details and costs are on this page.
Have a great week and stay safe!