Good day, our dear readers! Today, we will talk about the top five (5) tips that you could take note of to start in this wonderful world of photography. Of course, these five tips are subjective, but we would not want to bore you with, ten, twenty or more. The truth is, there are endless tips, but a few important ones in the beginning should help you get on your way.
TIP 1) Read through the camera manual.
This is probably the most important tip. You don’t have to read every page in great detail, but you will most likely need to learn things like how to charge the camera, or remove/replace battery, insert a memory card, attach a lens (we are talking about interchangeable lens cameras, of course), attach a flash, which dials to turn to change settings, etc. Some of the lower end cameras can be a little tricky at first when you need to learn the different button functions and what the wheels do on the body. If the camera has any wheels. Most should have a wheel near the shutter button that can be controlled with your shutter finger (ideally your index finger). But most lower end cameras will not have a front and rear wheel. If yours does, then changing settings on the fly will be easy.
TIP 2) Learn about exposure.
Exposure is when you expose a light sensitive medium (film, sensor) to light to make an image in camera. You should learn about all three controls that determine your final exposure. ISO, aperture and shutter speed. This is what they call the exposure triangle, google the term and see what we mean.
With modern mirrorless cameras it’s relatively easy to determine the exposure you want. You just look in live view on the LCD or in the EVF (electronic viewfinder) and take the shot when you feel the exposure looks to your taste. But, of course, it’s not THAT simple in the end. Each of the three controls – ISO, aperture, shutter speed – will have their unique effect on the final image. Learn what each of those things do:
Aperture – controls depth of field using the aperture blades within a lens, the aperture blades are like the pupil in our eyes. Large aperture = big opening means a shallow depth of field, but lots of light coming through the lens. Small aperture = small opening means more depth of field, but less light coming through the lens.
Shutter speed – slow shutter speed creates motion blur in moving subjects, fast shutter speed freezes motion.
ISO – low ISO is for capturing lots of detail, but it needs a big aperture and/or slow shutter speed. A high ISO will have digital noise, but it will be a greater choice for capturing action scenes. Don’t underestimate high ISO. Since nowadays many cameras can handle shooting at high ISO values, with good file capture and processing the RAW files. With many modern mirrorless cameras, or some DSLRs, the ability to capture high ISO images and manage noise is incredible. It takes time to learn the correct way to expose a digital file, especially at very high ISO. This blog post may help you understand better. It works!
TIP 3) Photograph often, and different subjects.
It’s important to photograph a lot to get experience. Shooting once a month will yield inconsistent results. Shooting daily, even if half an hour at a time, is beneficial to your learning progress. Every bit of time you spend outdoors practicing will help you develop into a competent photographer. Having the best equipment will be useless without your personal growth as a photographer. Remember, as horse riders say, it’s “Time in the saddle!”
And it is as true as it gets. Keep it up!
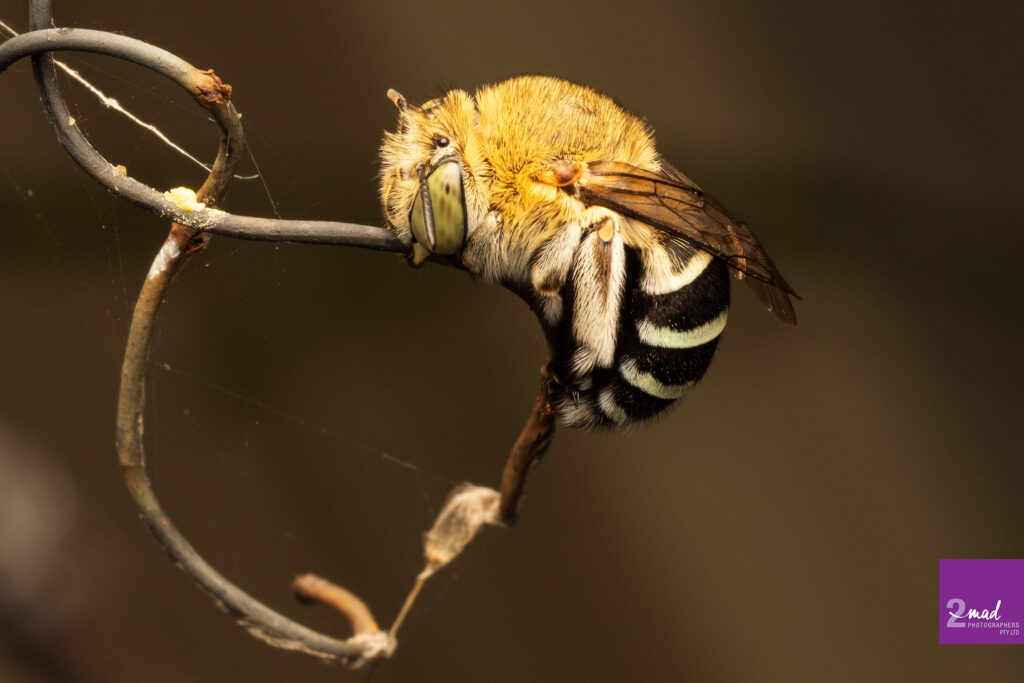
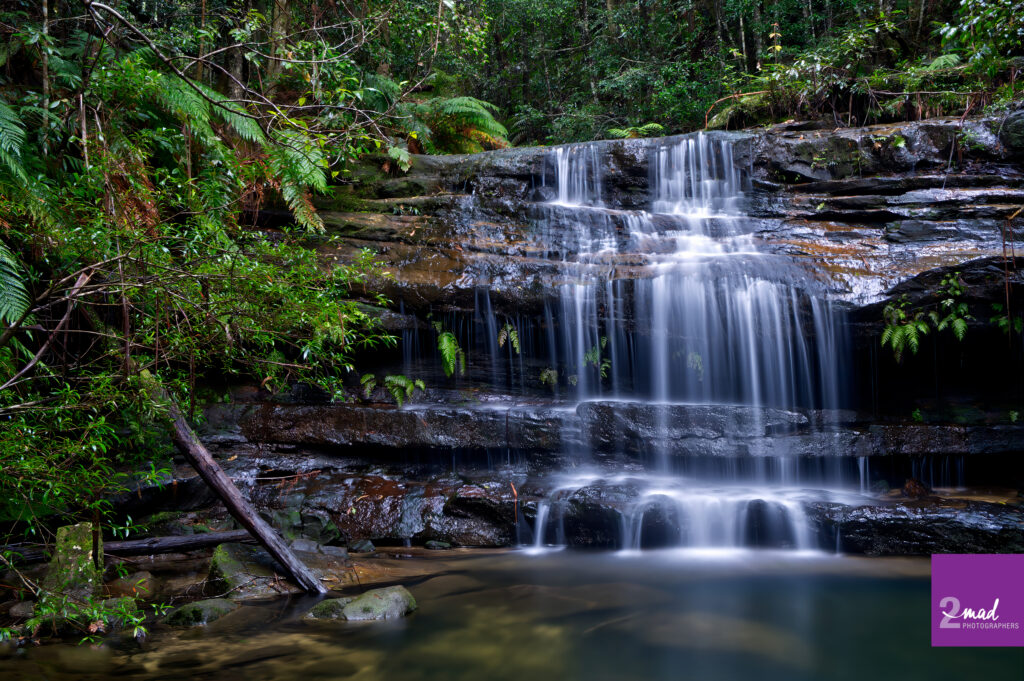

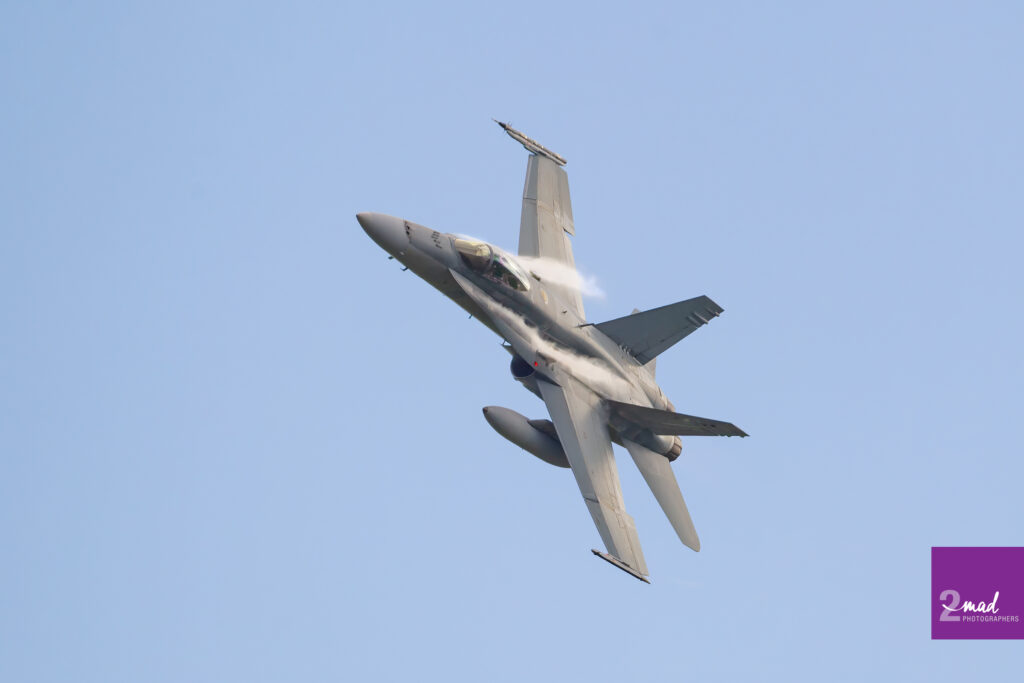
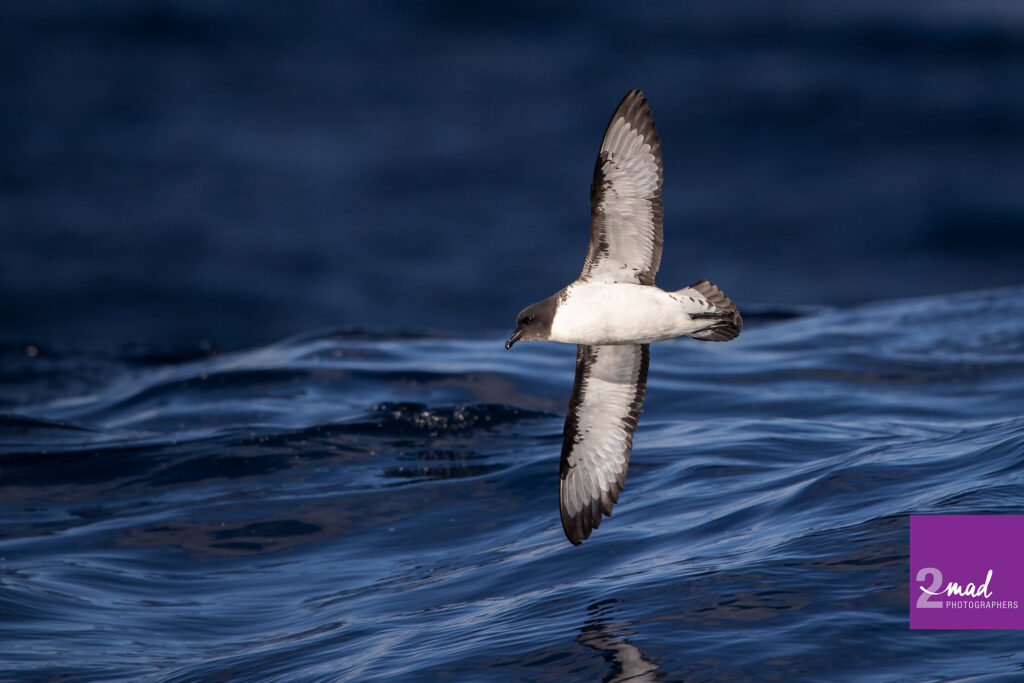
Varying your subjects helps you develop. Take photographs of people, landscapes, macro, wildlife, aviation, cars, pets etc. Don’t be disappointed if you don’t get to a pro level fast, it will take time. But shooting different styles will give you a huge variety of situations and learning opportunities.
TIP 4) Don’t overexpose highlights.
Learn to read your histogram and work carefully with your exposure. Once you overexpose your highlights, it will be impossible to recover them. Learning how to capture the perfect digital exposure takes some practice, but using the histogram and enabling clipped highlight warnings are fantastic tools to help you master it.

We shoot at very high ISO and often push our exposure to the right to capture as much data in the right side of the histogram as possible, which also minimises digital noise introduced by shooting at high ISO values. More on this technique in another blog post, as we wouldn’t want to overwhelm you now.
TIP 5) Network with other photographers
When you start out, it can be daunting and downright overwhelming. If you find learning alone bothersome or like you are not progressing, reach out to other photographers. Being connected is beneficial to your learning. Whether you join a camera club, register on a reputable online forum or a casual group through your social circles, it’s all going to be advantageous for you.
The only online photography forum that is wildlife focused, where I felt there was good camaraderie and excellent learning from other members has been BirdPhotographers.net or BPN. I became a lifetime member (in fact I am LTM#3 there) 17 years ago and have learned from some of the best bird photographers in the world, in a very friendly online platform. You can pretty much forget most Facebook photography groups. They are not where you will learn to BE BETTER!
One thing to be conscious of is that in the beginning, your photography may not look great. Ask others for constructive feedback, and don’t be frustrated if there are things said you may not like. You need to learn the technical skills and, most importantly your subjects, to become great at your craft.
We hope you got something useful out of this blog post as well.
Stay safe, and happy photography!