The enjoyment you gain from photographing images of our beautiful birds is far more important than getting ‘that’ perfect shot. However the satisfaction of getting those once-in-a-lifetime shots, are why beginner birders are always asking us for advice. It’s addictive!
Here are five quick and easy things you can do to immediately improve your bird photos.
TIP 1 – Use a zoom lens
Why should you use a zoom lens? If you have never ever photographed with a really long super telephoto lens, then you will struggle to hold a prime lens (fixed focal length) and find the subject in the viewfinder, especially if you have to do it fast. With a zoom lens, you can zoom out to the widest focal length, find the bird, then quickly zoom into the longest focal length to make the subject as big in the frame as possible, then take the shot.
Once you master framing without having to zoom in, it’s a much better time then to swap to a good quality prime lens, if your budget allows. As nothing beats the images that are taken with super telephoto prime lenses.
TIP 2 – Use continuous focus for most shooting scenarios
This is important, as this focus setting in your camera ensures that the camera keeps micro adjusting the focus on the subject as it moves even ever so slightly. This results in getting consistently sharp images. You can use one-shot or spot focus if the bird is in a cluttered environment. However, cluttered environments don’t usually make for appealing images.
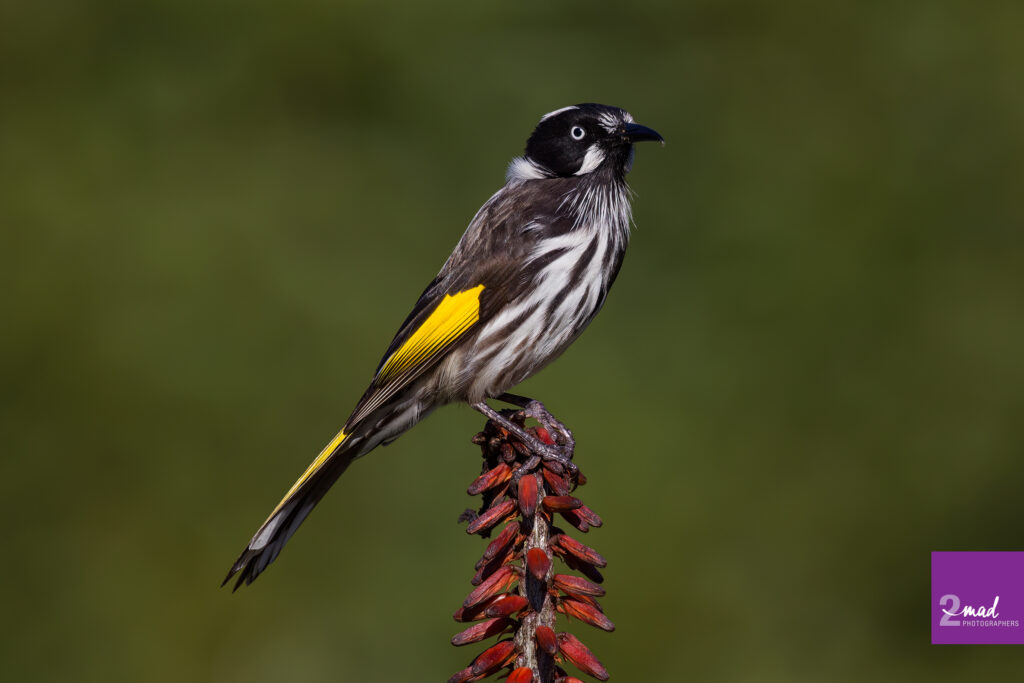
TIP 3 – Don’t center the bird in the frame
While sometimes a central composition works, if you have say a head-on shot and the symmetry would make the image work well, it’s usually best to place the subject off-center onto one of the rule of thirds crossover points in the frame. If the bird is looking to the right, try to place it in the left 1/3 of the frame or so and leave space in front (to its right, the direction in which it’s looking) so it looks into negative space. It makes for a more aesthetically pleasing composition.
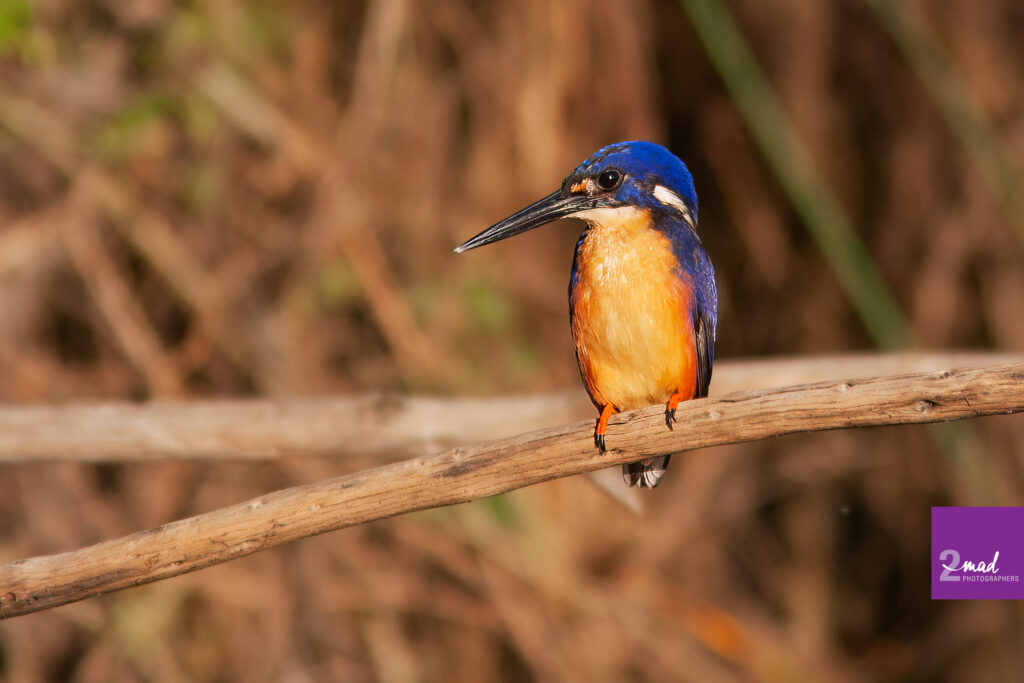
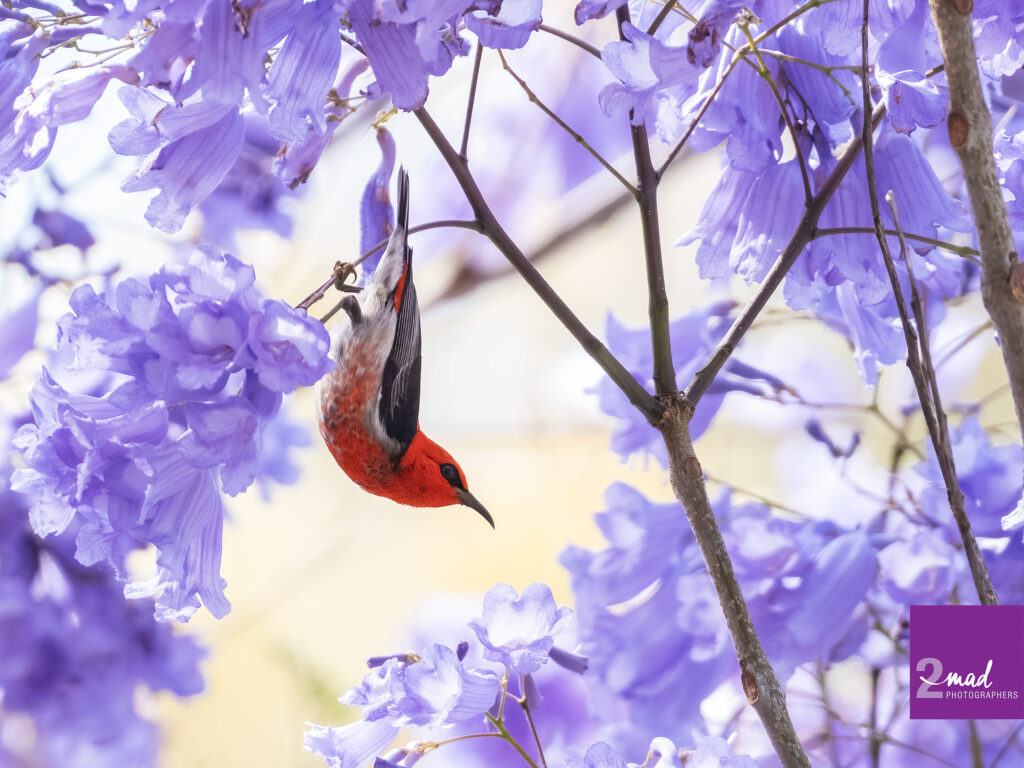
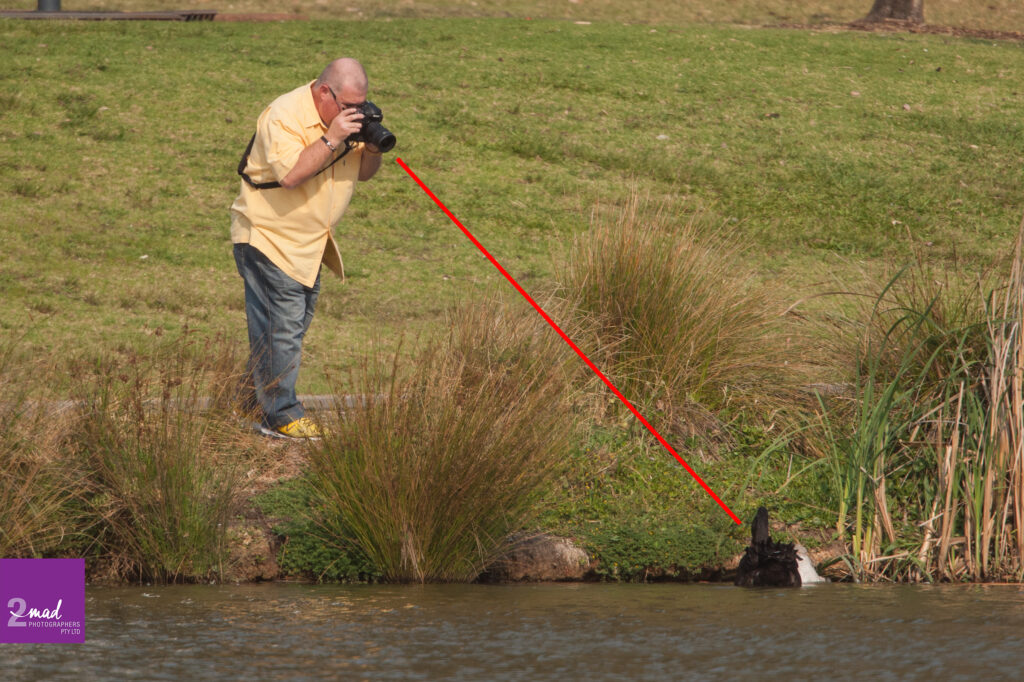
TIP 4 – Get close to eye-level
Taking images of the tops of birds (looking down) or bird cloaca (looking upwards at its rear end) do not make for nice images, unless you really want to ID the species. If you want impactful images, it’s always best to try to get eye level with the subject. Whether you squat, kneel, lay prone, or stand on something for a bit more elevation, or walk up an incline to get more elevation, all these little additional steps during framing and composing will give you much higher quality images.
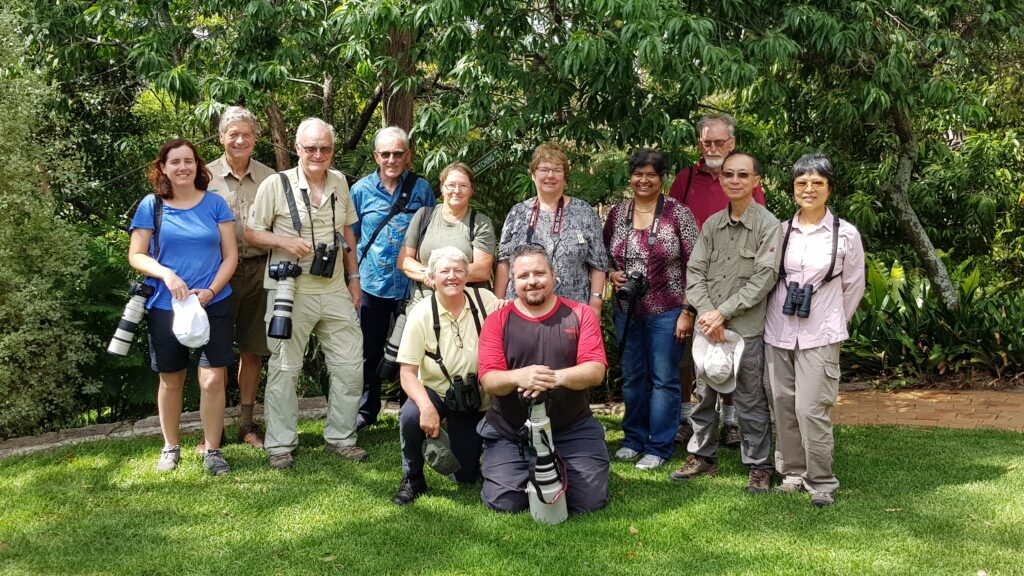
TIP 5 – Learn from expert photographers
There are photographers and there are photographers who really know their stuff. Find one of the latter and talk to them, maybe hang out with them if you like their personality then see if they would be willing to teach you a few things. The experience gained from others who are subject matter experts and willingly share good tips will make your journey enjoyable and much more rewarding.
We hope you found these pointers helpful! Keep an eye on this blog as we will continue to share lots of pointers for people starting out on their bird photography journey.